How to install BIKE T9 on your mountain bike
COMPATIBILITY: BIKE T9 is compatible with 1 – 1/8″ forks whose mouthpiece measures at least 23 mm in diameter. Please note: It is not compatible with double plate forks.
INSTALLATION: Follow these simple steps in photos, or watch the video at the bottom of the page.
Make sure that the fork steerer tube is perfectly clean and degreased.
If in inserting the device there is no room to maneuver, remove the fender, if any, and the bike wheel.

Remove the protective rubber cap from the Tracker.
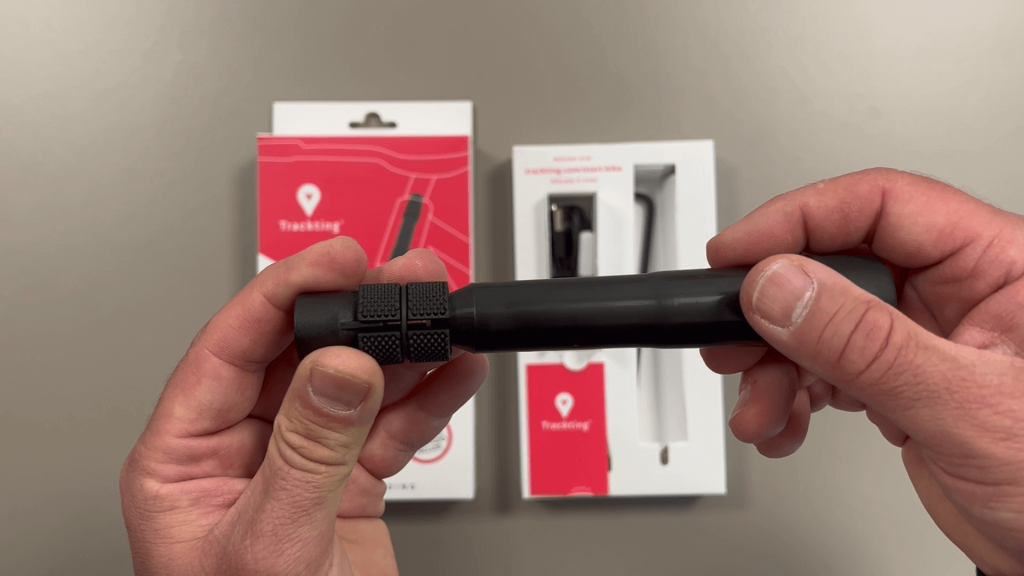
Then prepare the Tracker by rotating it to loosen the expander.
Make sure the grommets stay aligned in place (see in picture, on the left end).

Insert the Tracker into the steering tube, up to the level you see on the label, and widen the expander of the tracker, until you feel some resistance.
If inserted further in, the tracker’s GPS antenna may not work properly.

Apply the fixing tool to the external part of the tracker, holding the device in place.
Make the expander attach by rotating the tool and continue until fully tightened, using only hand force (do not use other tools).

ALTERNATIVE FIXING METHOD – If necessary, while tightnening from below, you can hold the device in its place by acting from above, with the allen key provided with the product.
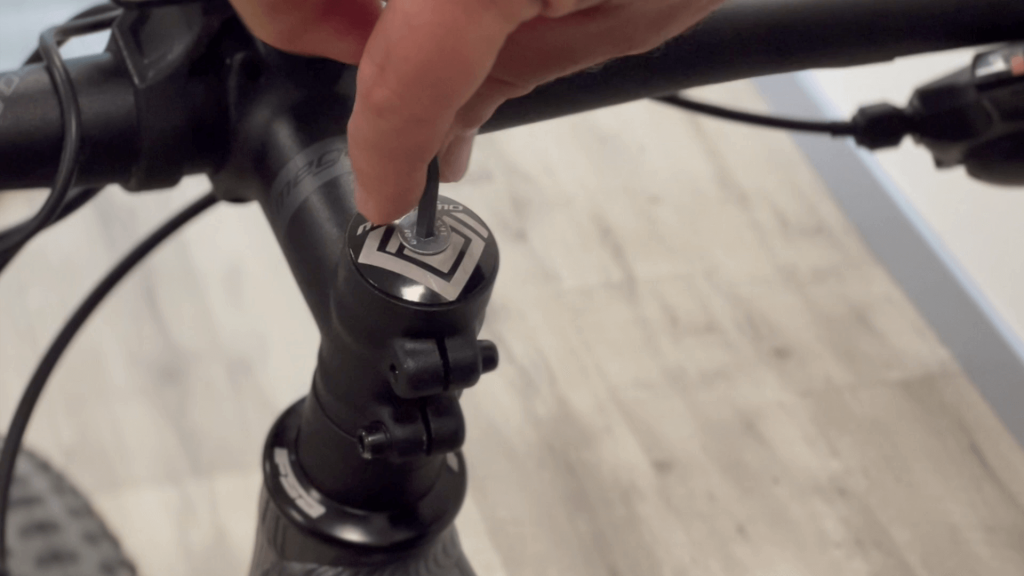
To do this, unscrew the handlebar cap and insert the allen key through the center hole of the star nut.

Insert the Tracker from below and position the fixing tool over the knurled part, then from above put in the allen key in the slot of the device.
Now adjust the position of the Tracker so that the full fixing tool is visible from outside of the fork steerer, then start rotating the tool to fix the Tracker.

When the installation is completed verify that the device is steady, then remove the fixing tool and the allen key.
Ultimately, put the protective rubber cap on the device.

TIGHTENING WITH THREADLOCKER:
In the package, BIKE T9 also comes with threadlocker fluid for longer-lasting tightening. You can apply a few drops to the Tracker screw at the expander loosening stage. After that, install the device in the fork tube, as shown above, and let the bike sit for about an hour so that the threadlocker sets.
IMPORTANT:
1. If you plan to perform evolutions or jumps that could bring the shock absorber to the end of its stroke, it is mandatory to disassemble the product beforehand.
2. Remember to periodically check that the rubber protective cap is always attached to the device.
3. Do not direct jets of water at the area where the Tracker is installed: you can use a damp cloth.
4. Each month make sure the device is tightened perfectly to the fork tube. If it is not, re-tighten it just enough with the fastening tool.
Subscribe to the newsletter
Take advantage of exclusive updates and promotional offers.